Rabbit Spring Embroidery
I’ve stitched my Rabbit Embroidery Square so I’m writing this blog to show you exactly how I stitched my bunny and a guide of how you can stitch yours. I include the thread colours, the stitches, the number of strands and the needle size that I’ve used along with a few video links of each weeks stitching progress.
The daffodils are open and this is the perfect time to be stitching this adorable bunny! But rabbits aren’t just for Easter, so if you’re a rabbit lover stitching your embroidery square on a dark November evening you’re going to have just as much fun as I did being creative with this whimsical design.
Just a quick note: Since stitching this rabbit, I’ve updated my embroidery panels. While the new panels are no longer hand-printed, the rabbit design remains similar (just the outline). You can still use this blog as a guide for stitching it, and the links now direct to the updated version of the design.

A Rabbit embroidery square printed in grey ready for you to colour in with thread.
1. What you need to stitch your rabbit embroidery
One of my Rabbit Embroidery Squares
Note: This post is based on my original hand-printed panels, but the new versions still feature the same rabbit outline!
A Spring Thread Set
5” Embroidery Hoop
Embroidery Needle pack
Scissors
Heat Erasable Pen (optional)

A Spring Embroidery Starter Set
Embroidery Starter Sets are available in my shop and include a thread set of your choice, a hoop, a needle pack, a practice piece of fabric, a stitch card and a little guide on how to get started with your stitching. You can get yours here……
I’ll be using a hoop and needle pack from one of my Starter Sets. The needle sizes I refer to throughout this guide are from my Starter Set Needle Packs.
So far, the embroidery squares that I have stitched I have used threads from my own (overflowing) stash. But this time I’ve used one of my Spring thread sets. It’s a really pretty set of pastel colours that are going to make my rabbit look nice and calm for spring.
My thread sets contain 8 thread colours (2m of each colour) and come on a card with their corresponding thread colour numbers so that they can be easily replenished. I have 4 thread sets in my shop to choose from (Spring, Summer, Autumn and Winter) and any of them can be used with any of my embroidery squares so that you can make your stitching completely unique.

The pretty Spring Thread Set
2. The stitches I used
Split Stitch
Double Whipped Back Stitch
Straight Stitch
French Knots
Turkey Stitch
Back Stitch
These are the stitches that I’ve used but you absolutely don’t need use the same stitches though……your rabbit will still look wonderful and cute if you stitch entirely with split stitch. Stick with stitches that you know and love to relax with your stitching; or experiment by learning some new stitches to play with.
3. Preparing Your Embroidery Square
One of THE best things about my embroidery squares is that they arrive to you ready to go straight into your hoop so you can get started with the fun part……… stitching. You may want to give your embroidery square a little iron before you put it in your hoop.
I use a 5” hoop for my embroidery squares, it’s a nice size for leaving enough fabric around the outside for finishing at the end.
I always pull my squares so that they are drum tight in the hoops because the tension really helps to make neater stitches and helps to prevent puckering in the spaces between stitches.
If you’re new here and unsure of how to pop your embroidery square into your hoop – watch this video to see how quick and easy it is.
Just remember that your ‘drum’ may loosen as you stitch your project, so check it regularly and retighten if you need to.
4. Stitching Your Rabbit Embroidery
4.1 The Rabbit
Stitch – Split Stitch
Thread colours – 108, 186 and 159
Number of strands – 3 (1 from each colour)
Needle size – Middle Sized
You might know by now that I usually like to start with the main event. Before I started stitching, I drew a few lines onto my bunny to guide me a little. I drew a line where his leg would curve, where his ears separate and where I want to stop stitching for his tail.

I used a heat erasable pen to draw these lines, but the rabbit will be completely stitched over. So, you could use a regular pencil here if you do not own a fabric pen.
I used Split Stitch with 3 strands of thread. I used 1 strand from 3 different colours. To do this, I pull out 1 strand from each colour that I want to use and then recombine them together.
Split stitch is my absolute faaaave stitch. I love that you can easily go back and add a few extra stitches in……just keep splitting those stitches and they’ll all blend in together nicely.
The other great thing about split stitch is that you can shorten your stitch length to stitch smooth curves and areas of more dense stitches that can help to emphasise elements of your chosen design.
On the whole I placed my stitches in the direction that the rabbits fur would go. The very first row of split stitches I did along my drawn leg curve, which I stitched with pretty small stitches. Then I blended more vertical stitches around this line.

The first line of split stitches along the leg line.
I also stitched the ear that would be further away with smaller stitches. These 2 areas of small stitching and changes of stitch direction have given nice subtle details to my rabbit.
It’s so much fun to stitch with more than one colour at a time too. It gives such a pretty effect and is absolutely no extra work (apart from pulling a strand from different colours). But as always you may choose to use this stitch with one colour…… it’ll still look cute.

After the leg line I worked my split stitches vertically.

The finished stitched rabbit…….. apart from his tail, which is one of the last things I stitch.
4.2 The Dandelion seeds
Stitch – Double Whipped Back Stitch and Straight Stitch
Thread colours – 50, 54 and 302
Number of strands – 2 for the Back Stitches but just 1 strand for the whipping
Needle size – Small Sized
I started by using colour 50 to Back Stitch the main body of the seed. I mostly stitched 2 backstitches next to each other (which is why it’s a double whipped back stitch) but in some places popped in a third stitch to cover the print underneath. I stitched a center line going straight up the seed and then branched off from that one.

The center line of Back Stitches going straight through the seed. Keep your Back Stitches adjacent to each other so that you can whip them later.

The other rows of back stitches branch off from the main center line of stitches.
Once I had covered my seed in backstitches, I whipped them using 1 strand of colour 54.
I’m not going to lie…… whipping these back stitches was pretty fiddly and definitely a stage that could be missed if you didn’t fancy it.
I really wasn’t sure that I liked what I was doing with these seeds to start with but I stuck with it and now that I’ve stitched them all I think they look really cute. There’s something quite candyland about them.
I worked the whipping in the same way as I did the backstitches; I whipped the main line up the center first and then did the branches.
Little tip – push up the fabric from behind your hoop when whipping your back stitches. This will help you to not catch any surrounding stitches with your needle when you whip.
And then to finish off my seeds, I added a few straight stitches with 2 strands of 302 at their ends.

I whipped the center line of Back Stitches first.


4.3 The main dandelion seeds
Stitch – Split Stitch
Thread colours – 50 and 54
Number of strands – 2 (1 from each colour)
Needle size – Small Sized
With these much smaller seeds I stitched split stitch working my stitches out from the center in much the same way as the larger seeds; I stitched the main line of each seed out first and then the branches.


4.4 The main dandelion center
Stitch – French Knots (with 2 wraps)
Thread colours – 302
Number of strands – 2
Needle size – Small Sized
I filled the center of the dandelion with French knots. I stitched a ring of knots around the outside first and then filled by continuing to stitch the knots in rings.
I know that French knots are a stitch that many people run away from……. But they really do create a wonderful texture. I did a live Instagram video on French knots when I added them to my snowman’s face. I’ve popped the link here so you can give it a watch to help you out – it’s a good one to get you experimenting with different knot sizes. Just take them slow and remember to let your thread untwist regularly…… this will help your thread to not get in a tangled mess.
Tip – Try and stitch your knots the same way around each time.

The first ring of French Knots.

4.5 The main dandelion stem
Stitch – Double Whipped Back Stitch
Thread colours – 225
Number of strands – 2
Needle size – Small Sized
I stitched 2 rows of backstitches up the stem, and then whipped them with 2 strands of the same colour.
You could use a Split Stitch on this stem, but I really like the twisty-ness that the whipped Back Stitch creates for the stem.

Remember to keep your Back Stitches parallel so that they can be whipped together.


The bunny stitching story so far.
4.5 Rabbit Tail
Stitch – Turkey Stitch
Thread colours – 108, 186 and 159
Number of strands – 3 (1 from each colour)
Needle size – Middle Sized
So, the bunny tail was another little tricky bit. I decided it would be cute if he had a little pom pom tail, so I used Turkey Stitch.
I’ve only used this stitch once before (and that was to make tassels for my snowmans scarf) so I’m definitely not practiced with it…….. but I’m always willing to give it a go. It can always be cut out if it is a disaster.
Because the tail is so small, you can’t fit that many stitches in……. I think I only did 6 or 7 of them. I wasn’t convinced that this would be enough stitches to make a nice little pom tail……. But I think it has!
I used the same 3 colours that I used for the rabbits body, which has given a really nice effect, but you may choose to stitch your rabbit tail in a different colour from the thread set.

At this point of the tail stitching it was hard to see that this was going to make a pom pom.

Be brave trimming the tail!

My finished tail……… cute!
And so now your rabbit embroidery has been completely stitched! Well done! You can finish it here…… or you may want to carry on stitching (like me)…………

The print is completely covered with stitches so can be finished at this point if you wish.
5. Finishing Touches
I added some writing onto mine. It’s always a fun way to make your hoop extra personalized.
I hand write onto my embroidery square with a heat erasable pen. I like to use the Pilot Frixion pens, and either free style my writing or I trace some text that I’ve printed out if I want to use a fancier font.
Just a little disclaimer – I’ve only used the black version of these pens and know that they easily erase from my embroidery squares with a hair dryer. But it’s always worth doing a little test patch in a corner.
If you don’t have a heat erasable pen, you can always use a pencil. Just pencil very lightly and remember that the pencil won’t erase, so you’ll want to cover all your pencil marks with stitches.
Stitch – Back Stitch (and French Knots with 1 wrap to dot my i’s)
Thread colours – 186
Number of strands – 2
Needle size – Small Sized
Back Stitch is my ‘go-to’ stitch from writing. The smaller you make the stitches the smoother and curvier you can make your lines.
And after a quick hair dry to remove any showing pen marks…… my rabbit embroidery is finished! Hurray!

You can write straight onto the fabric with a heat erasable pen.

I like to use these Pilot Frixion pens.
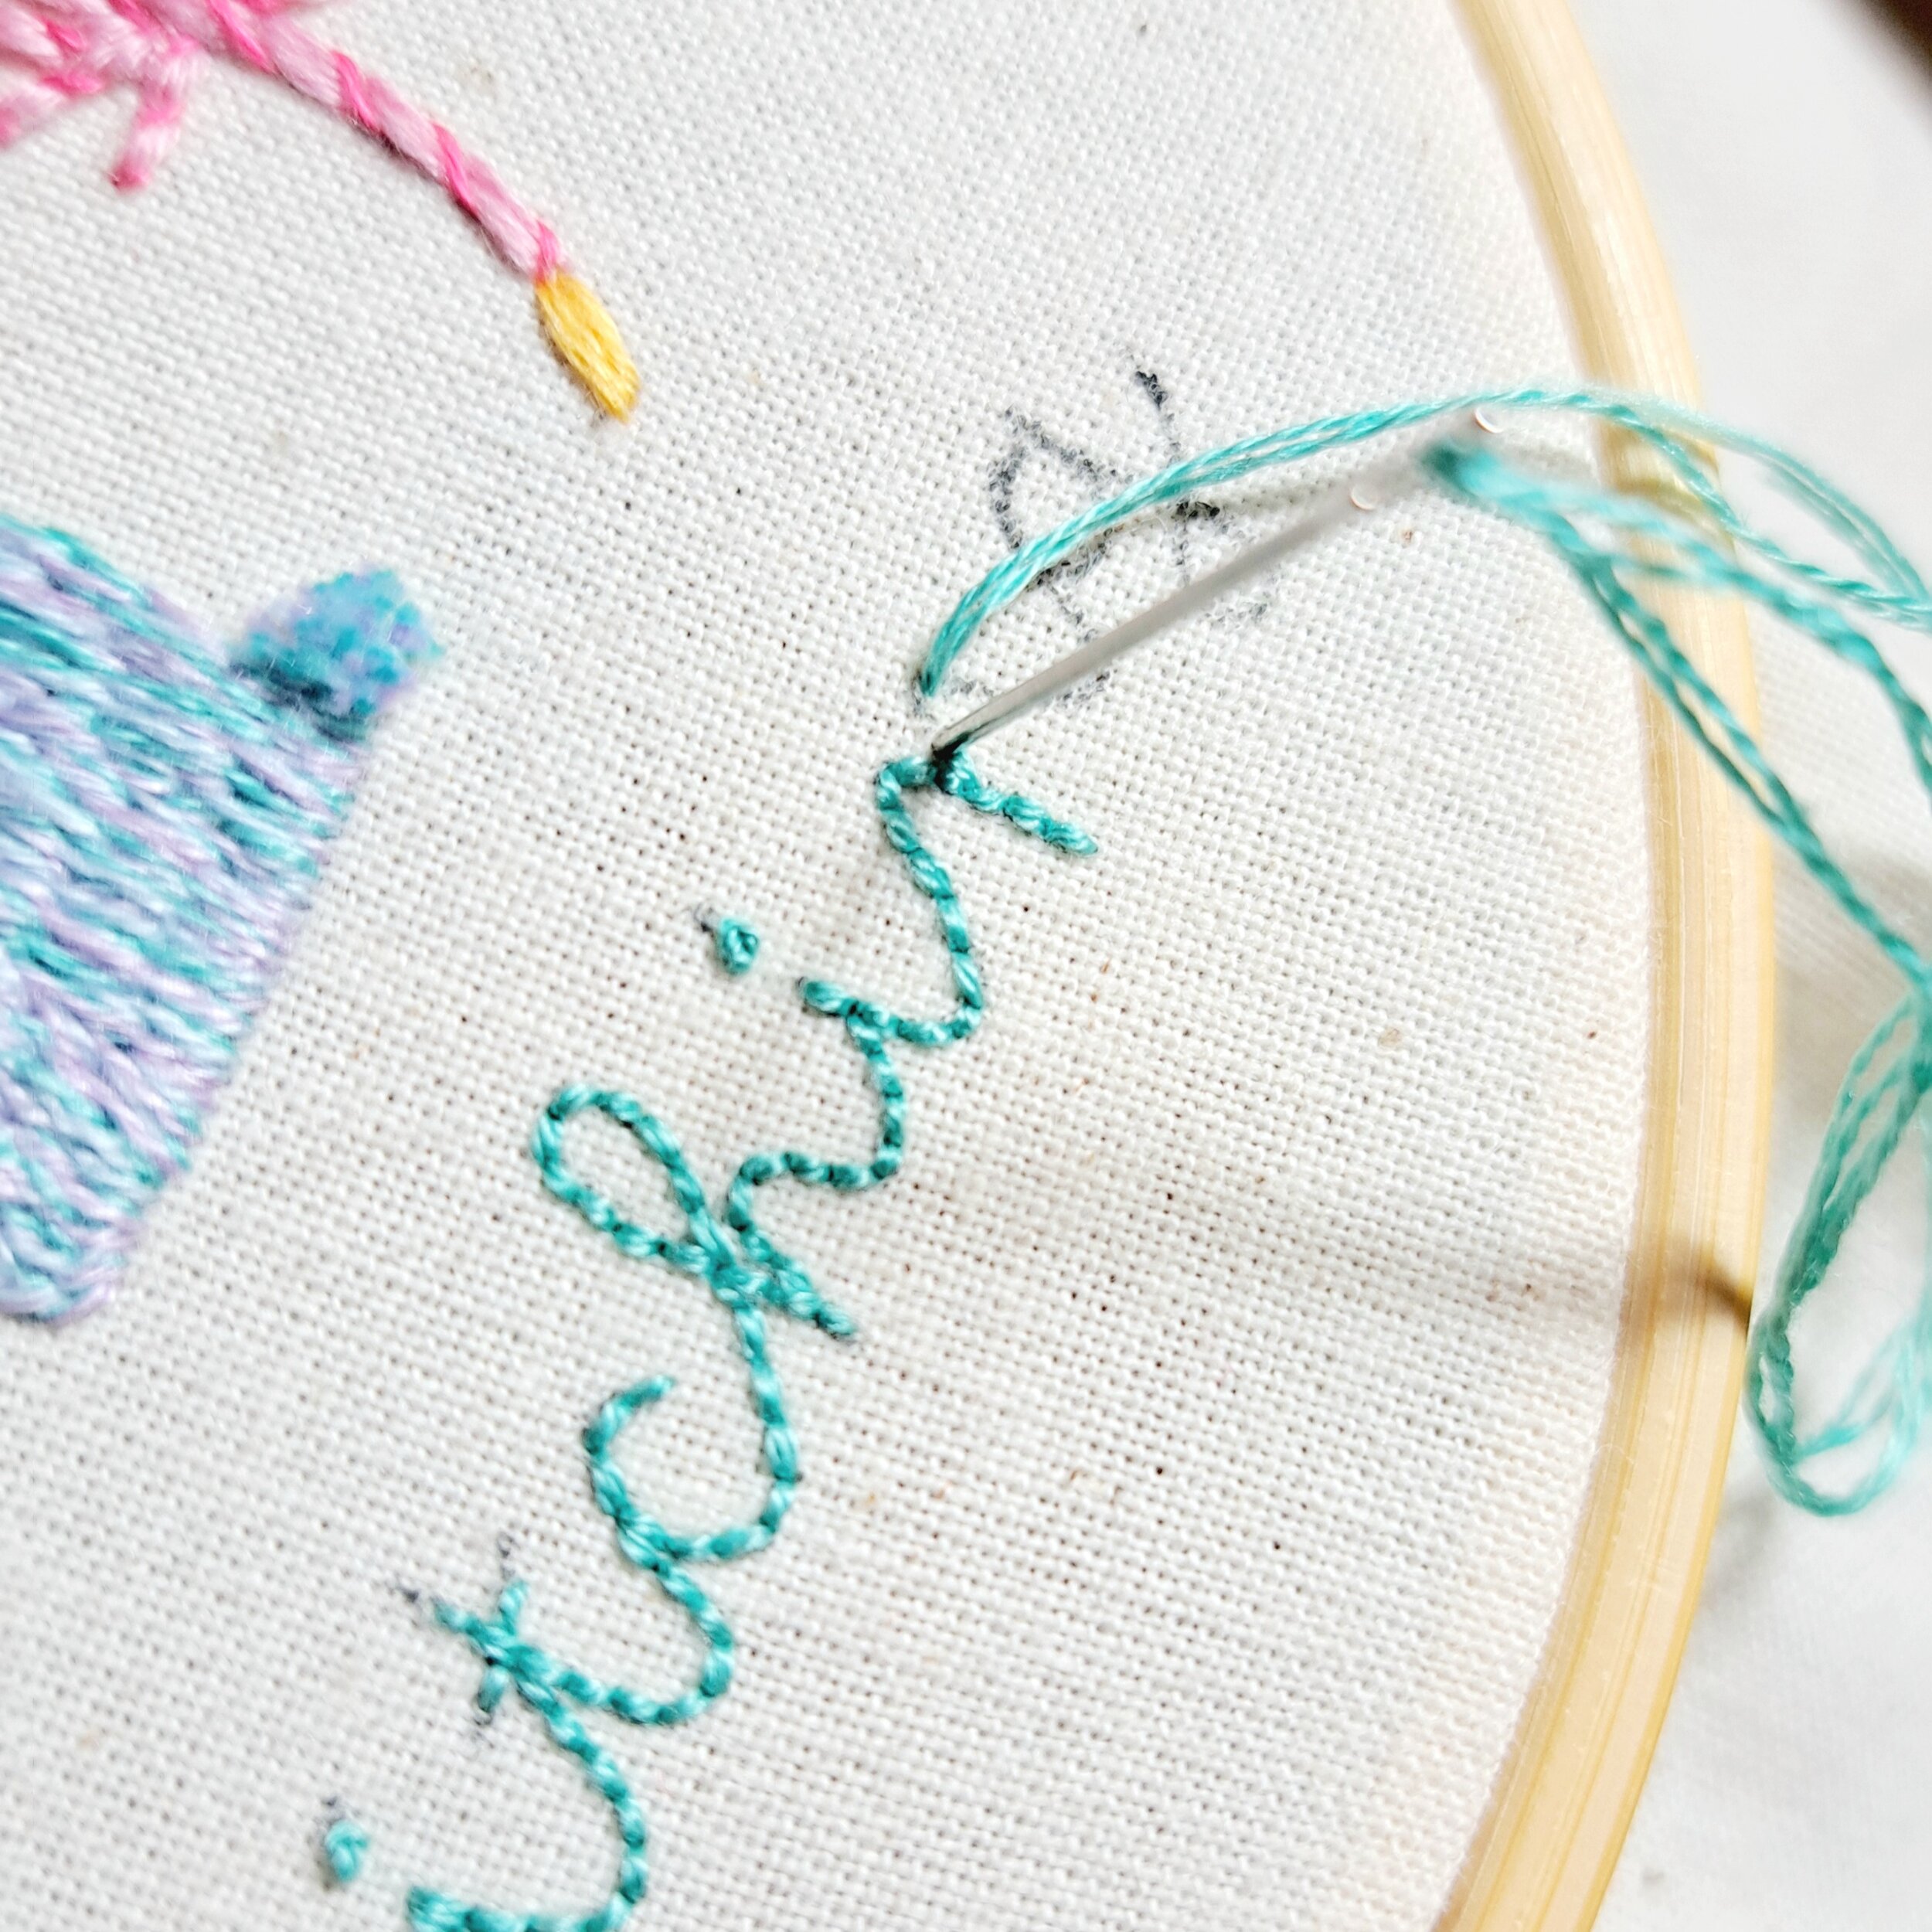
The smaller you make your Back Stitches the curvier your lines are going to be.
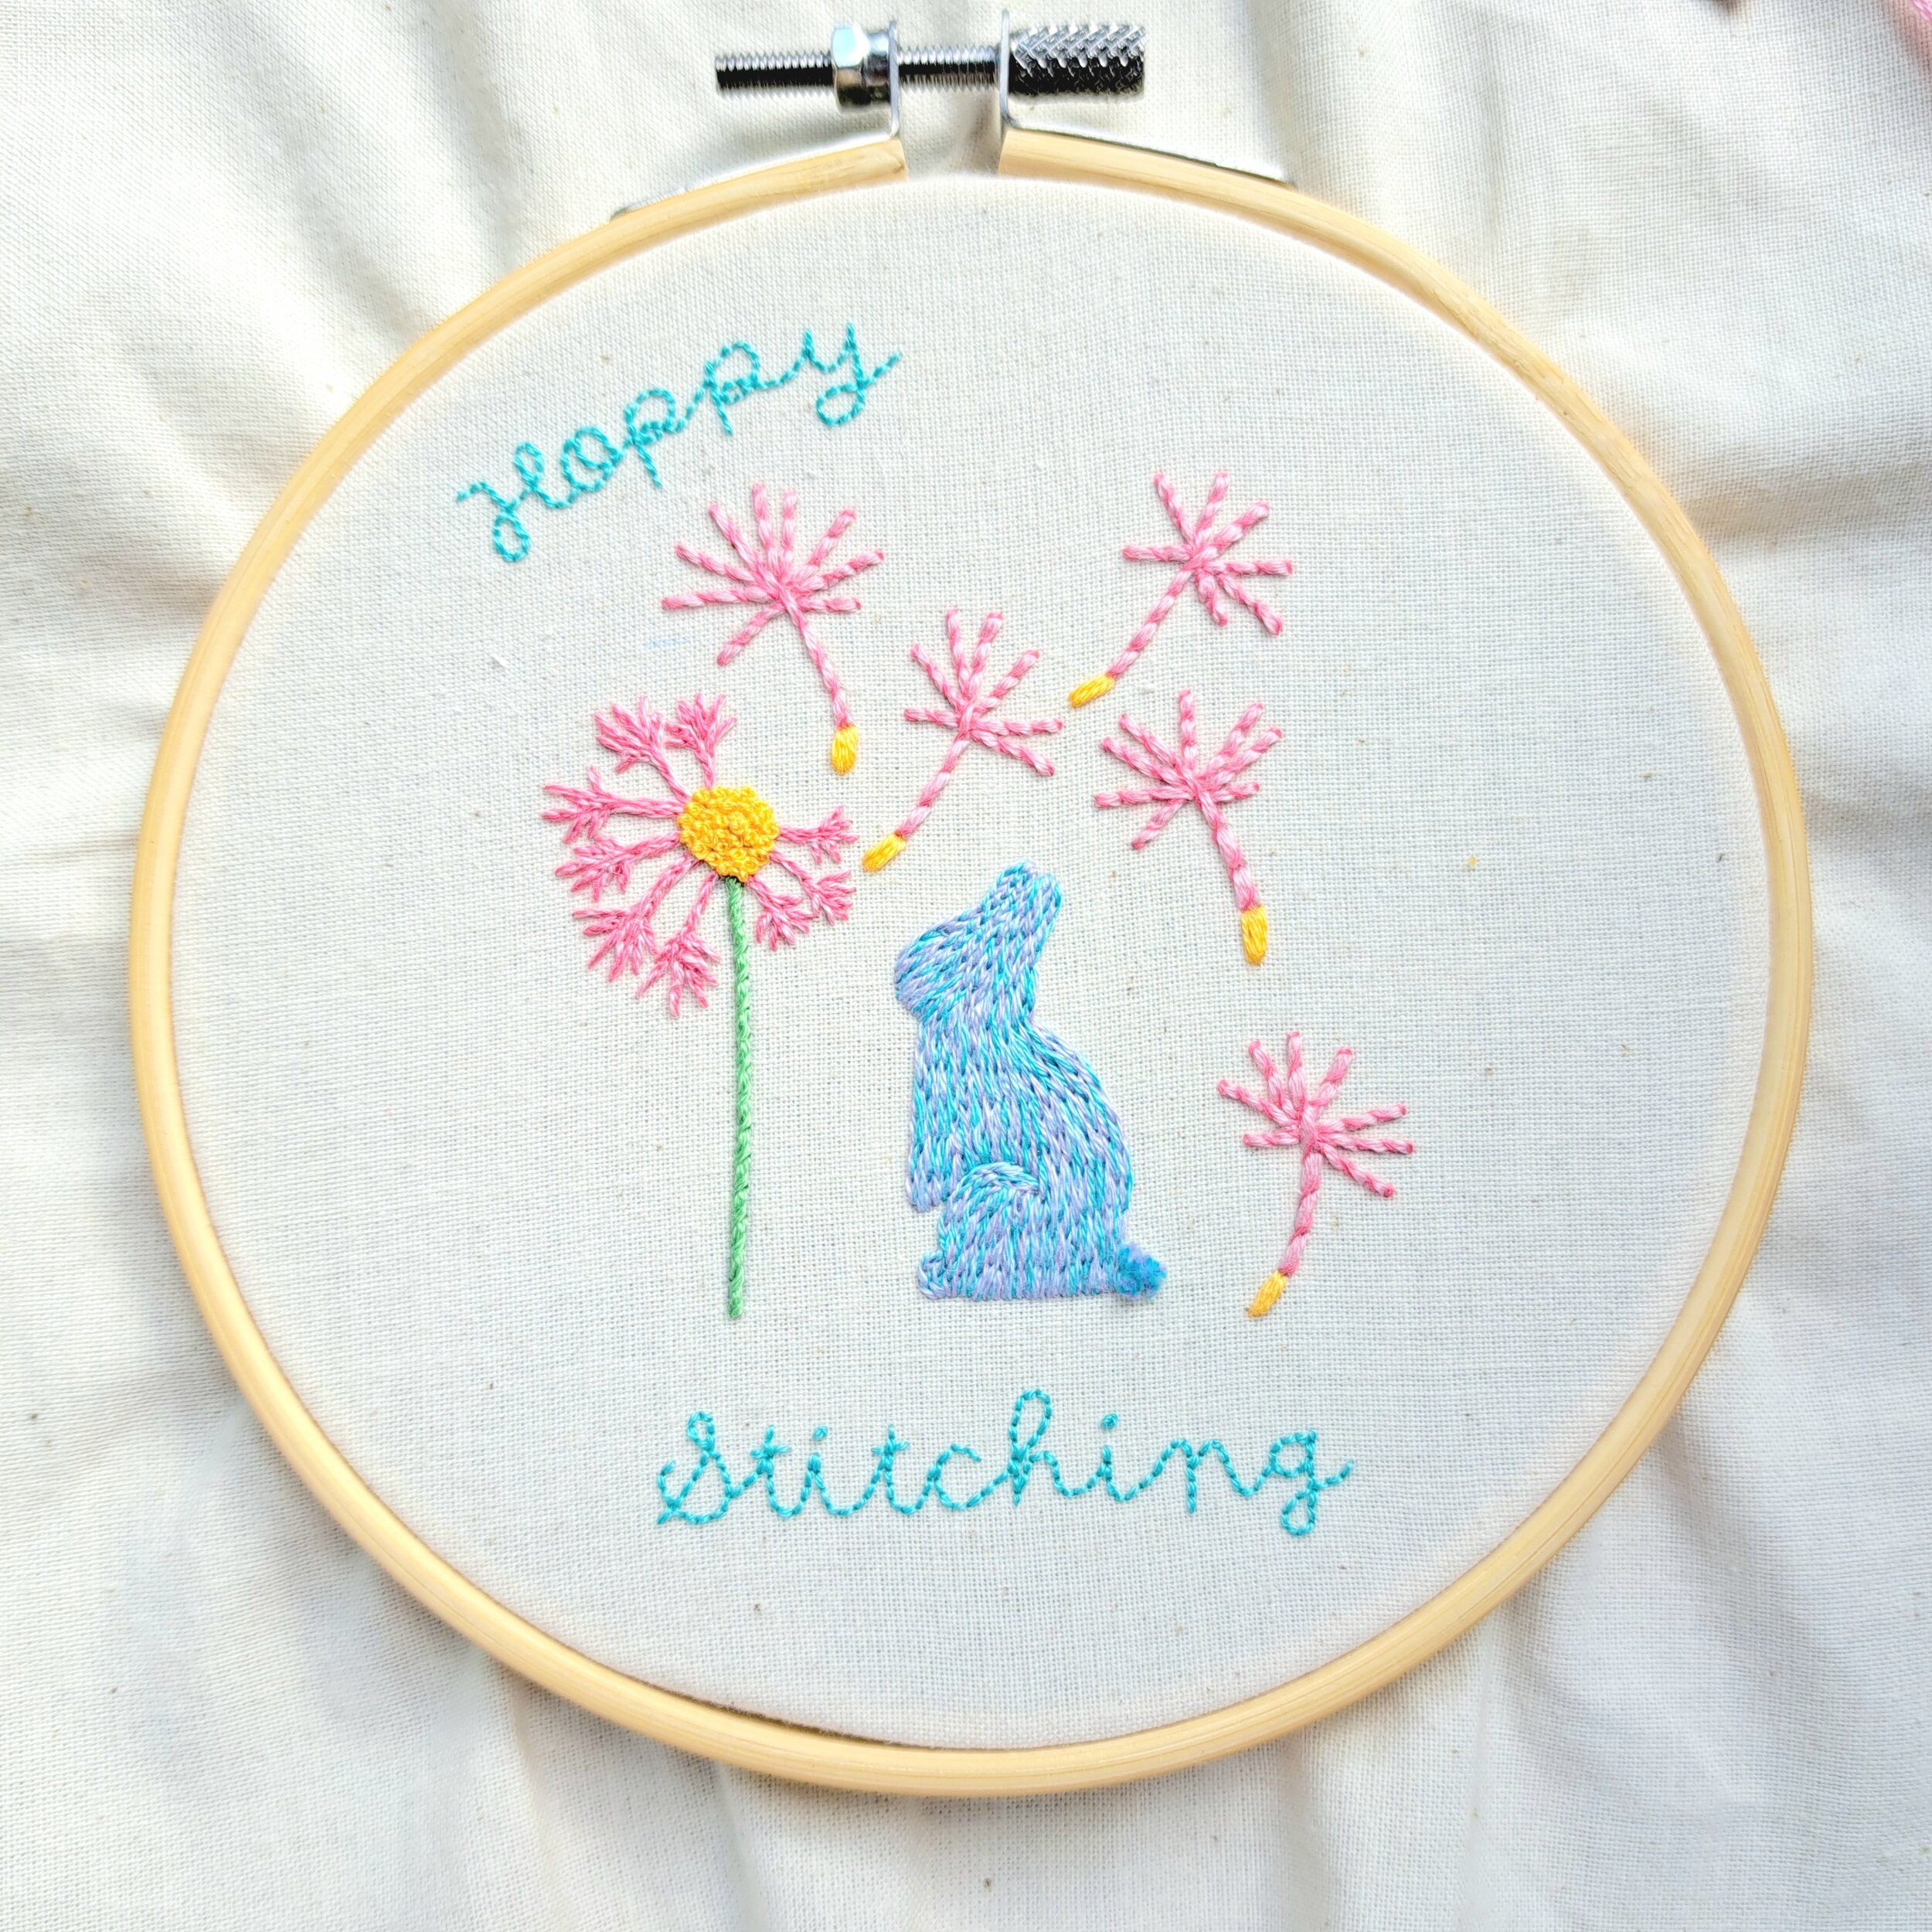
My finished rabbit embroidery square.
6. Display your Finished Embroidery
You can frame your finished piece in the very hoop you stitched it in. If your project isn’t central in your hoop, now is the time to take it out and reposition it.
Trim away excess fabric from the edges of the hoop, leaving a ring about 4cm all the way around. Stitch a running stitch about 1cm in from the fabric edge, leaving an unknotted tail at the start and finish. Pull these two tails to gather in the fabric. Tie a knot to hold in place.
If you’re gifting your work, you may like to glue or stitch a felt circle onto the back of your hoop.
There are many creative ways to display your embroidery hoops that can add a unique and personal touch to your home.
One of the most common ways, and the way that I love to display my hoops, is to hang them on a wall. You can create a gallery wall by hanging several hoops in a group or arrange them in a pattern. To hang the hoops, you can use a nail, picture hook or adhesive hook.

Step back and admire your beautiful work!
If you enjoyed this one, check out my other embroidery blog posts. Some of them have links to live stitching videos that you can stitch along with. I also have currently 8 other embroidery square designs in my shop that you’ll love relaxing and getting creative stitching with.
But most importantly…………Enjoy your stitching!
Until next time,
Liz x